RSS Feed

Author Archives: Olivia Wells

I Don’t Even like Peanut Butter

Posted on

There. I said it. I don’t even like peanut butter, or peanuts for that matter…. Unless they’re covered in chocolate. I’ll eat possibly anything covered in chocolate actually. However unfortunately while cocoa is a plant and plants have leaves, chocolate is not acceptable as salad. Boo. 

This is my solution: Reese’s Peanut Butter Cups – gym bunny style.

Took these in to my fabulous PT Jim (@JimInTheGym) with TrewHealth and all but one were gone by the time I finished my session.

Image


These are super easy to make too, require no cooking and no sharp objects (unless you choose to use a stick blender) so are kiddie-helper friendly.

They are GLUTEN, SUGAR, DAIRY FREE. If you have peanut allergies you can sub the peanut butter for almond butter or homemade hazelnut butter (hazelnut version tastes amazing b-t-dubs).

I don’t have exact amounts but just go with what feels/tastes good to you.

YOU’LL NEED 

ImageIn a bowl, mix equal parts coconut oil & peanut butter. You can use a stick blender or stick it in the microwave for a few seconds to soften the coconut oil.

Image


Split mix into two bowls. 

Into one bowl add stevia to taste and a few heaped dessert spoons of desiccated coconut. Mix thoroughly.

Into the other bowl add 2-3 heaped dessert spoons of raw cacao (you can use cocoa but it is more processed and has fewer antioxidants) and stevia to taste.

Image
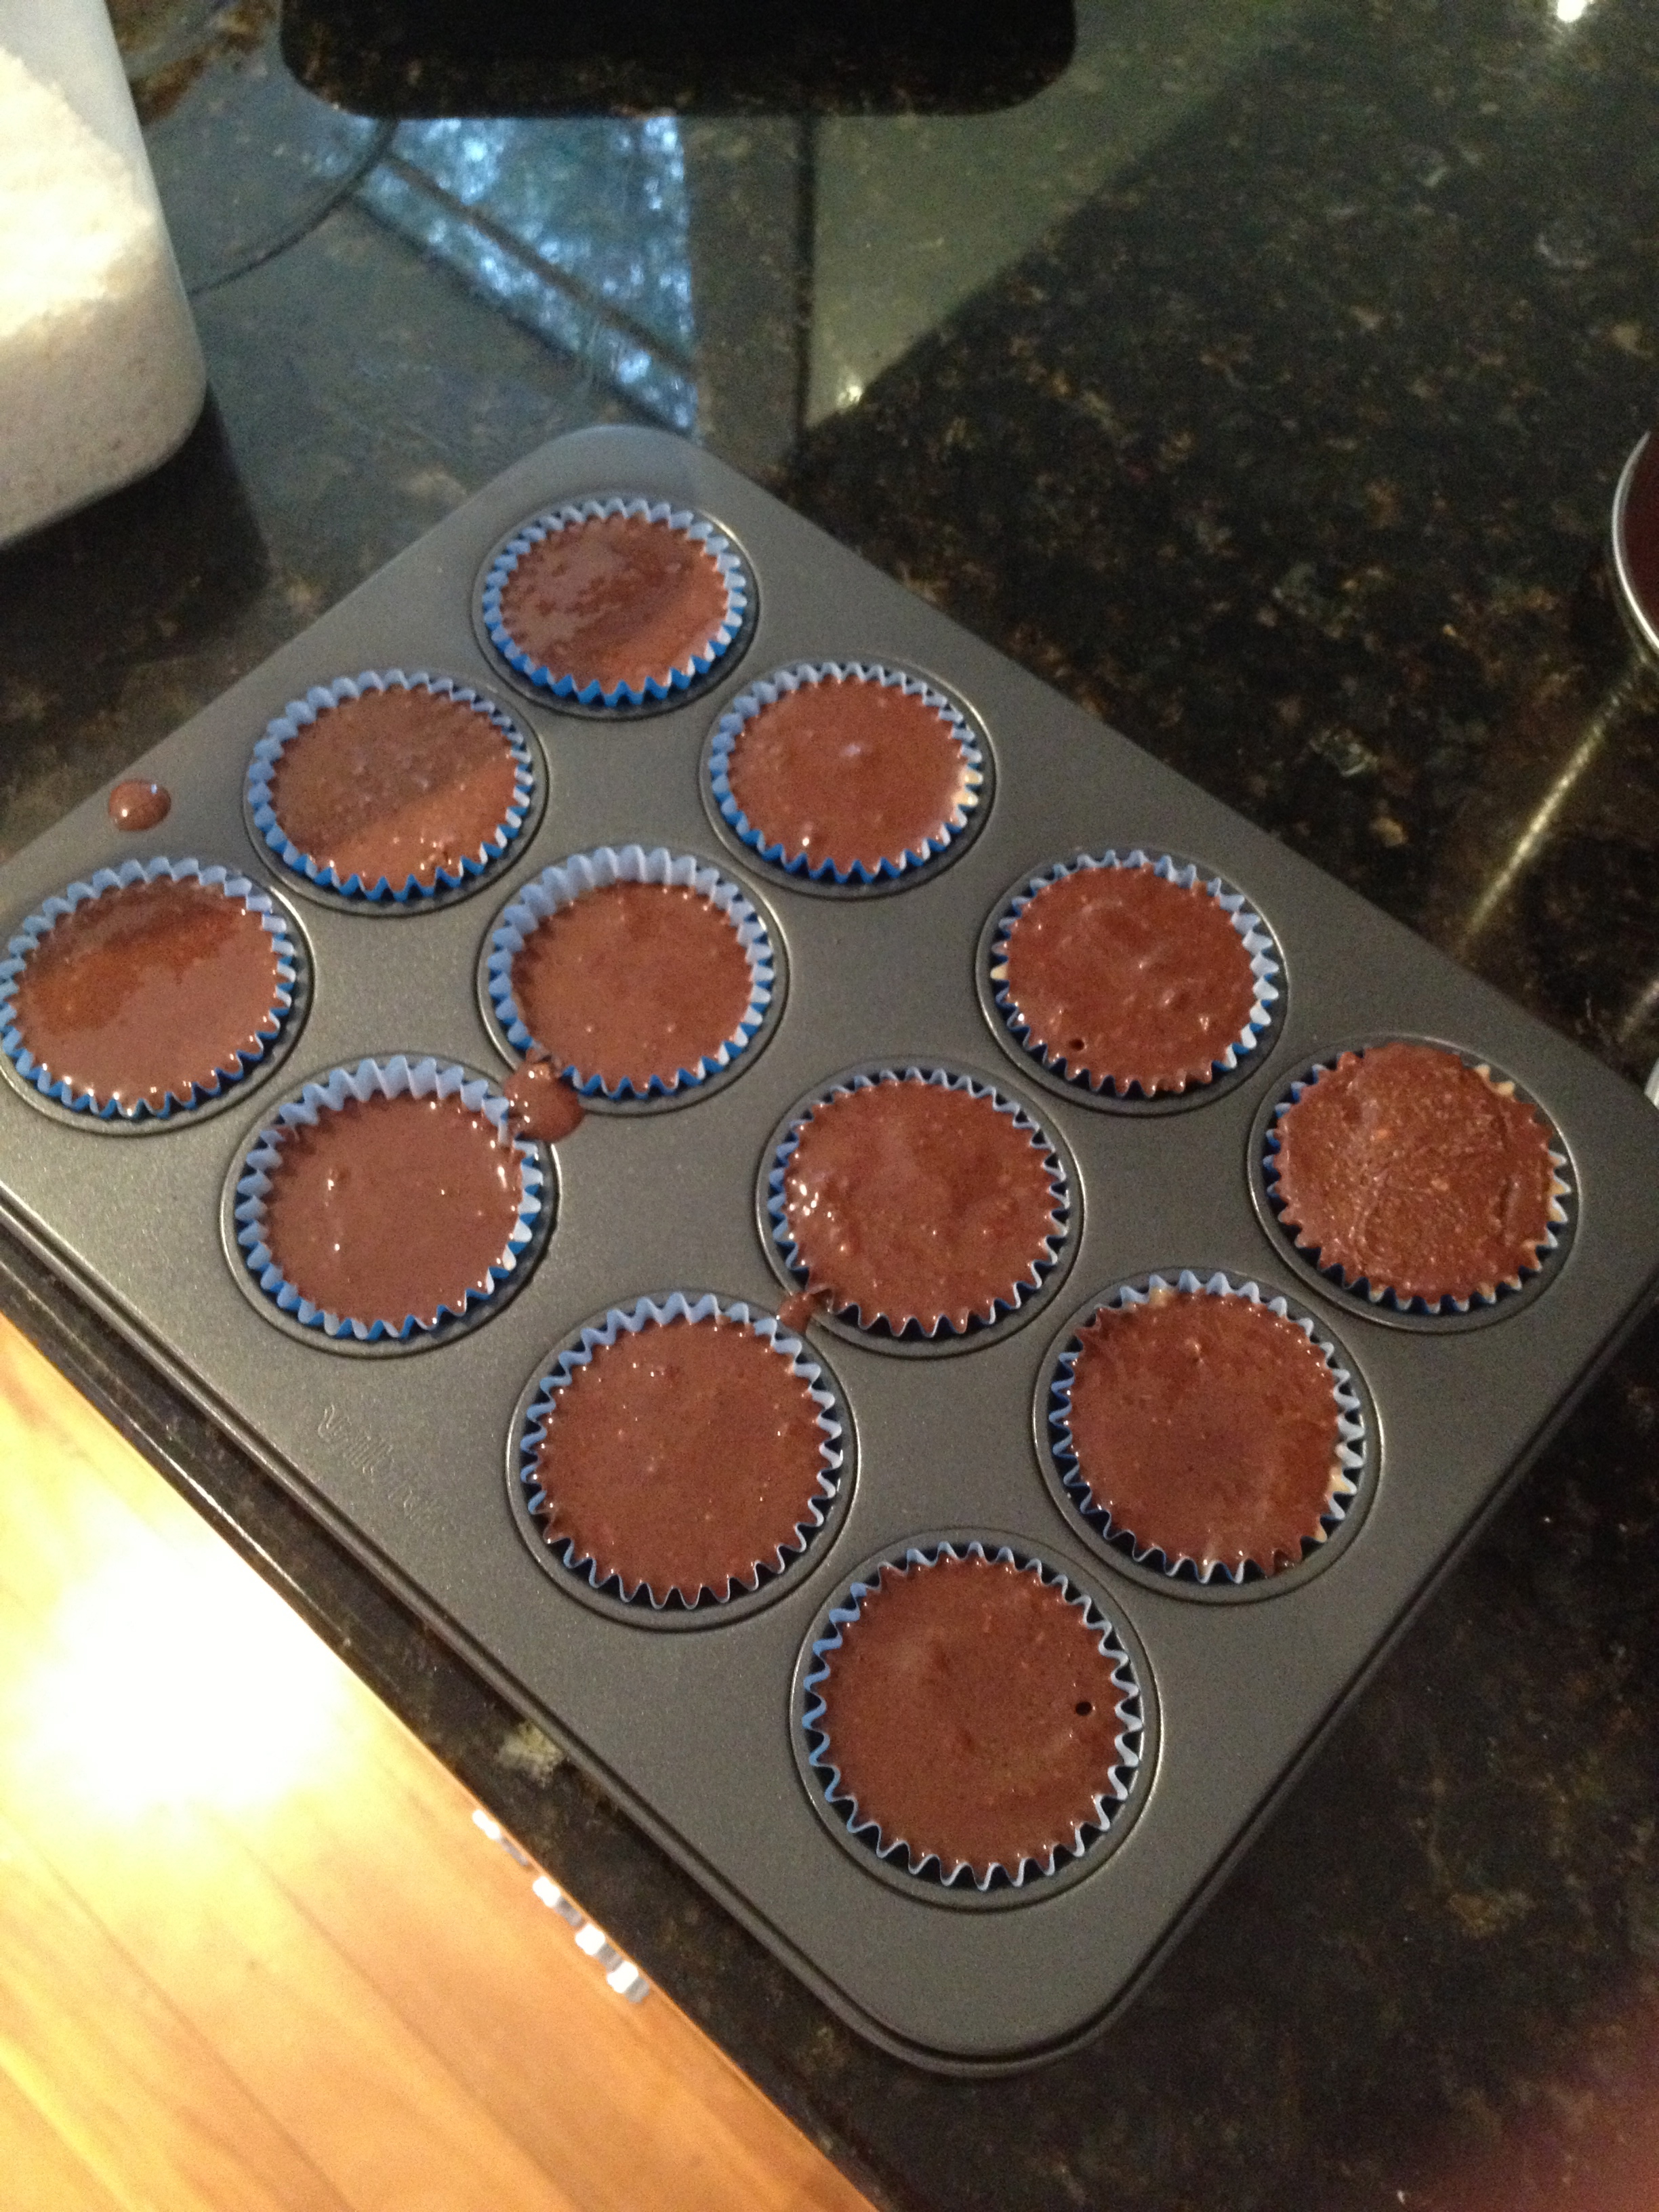
You can totally tell I’m not a food photographer.

Mini cupcake tins are the best for this. You don’t need to use papers as the mix (being high in oil) won’t stick but I do anyway.

Spoon one of you mixtures into each pan, half filling them. 

Image

Then, spoon your other mixture on top until the pans are full.

Image

Top with some shredded coconut if you like and you’re good to go! Put them in the fridge for 1-2 hours to set then enjoy. Keep these in the fridge to stay firm.

ImageThere’s absolutely no excuse for picking up the junk food now is there? (at least until I hit you with a sugar & food colouring filled recipe next week).

Imagexx


The Long Awaited Return of The Procrastibaker

Posted on

Ok so “long awaited” is probably my ego, but it’s been over 12 months since I last posted and I figured it’s time for a fresh start. Between finishing high school then starting uni my spare time has been chewed up and thus my blog has been left to slowly wither away but alas no longer. Time to fatten it back up. Since you last heard from me I was crowned Miss Universe Australia and in light of this, I decided to bake the most calorifically delicious, sugar laden treat I could think of. Because that’s what pageant girls eat, right?

BROWNIES.

With salted caramel.

And chocolate ganache.

Just like a successful pageant queen this baby is a triple threat of everyone’s favourite things smooshed together. Now I’m usually pretty good with the overly decadent desserts so when I can only manage a few mouthfuls I know I’ve probably gone overboard…

“Trump Brownies”

Because they’re so darn rich.

IMG_7506

Start with your basic brownie mix. Easier the better. Chop up some chocolate to stick on top.

IMG_7507

IMG_7510

Bake this baby until firm but still gooey. It’ll set further as it cools so less is more.

Now comes the tricky bit. Once you’ve taken your brownie base out of the oven start on your salted caramel. This way the brownie will be cool enough and the caramel won’t melt when you pour it on top. The trick with salted caramel is whatever you do, DO NOT BURN YOUR SUGAR!! Better off being a little underdone than over done. I also recommend using a whisk to move the sugar around because then you won’t get as many thick lumps.

IMG_5832

Now pour the thick, cool caramel on your cooled brownie base.

IMG_7513

Ok so I know it sorta looks like clarified butter but trust me on this.

Actually clarified butter would probably be the healthier option… #missuniversediet

At this point I got
a) lazy
b) too hungry to be bothered taking too many process photos so I could hurry up and finish this monstrosity of a dessert
So I give you creative license to imagine how my chocolate ganache looked while I was making it.

I originally wanted to just temper chocolate and pour over but tempering chocolate isn’t as painless as making ganache and may result in broken teeth when you try to bite down on the gooey brownie/caramel layers then hit rock solid chocolate.

Pour your ganache over the top and let it set in the fridge for a couple of hours. You’ll end up with a very heavy baking tray of yumminess. I ran into trouble when it came to getting it out of the tray so I just ate a little bit out of one end to give me enough room to cut and use a spatula to lift slabs out. Or that’s the excuse I’m going with anyway…

IMG_7519Voila!

xx